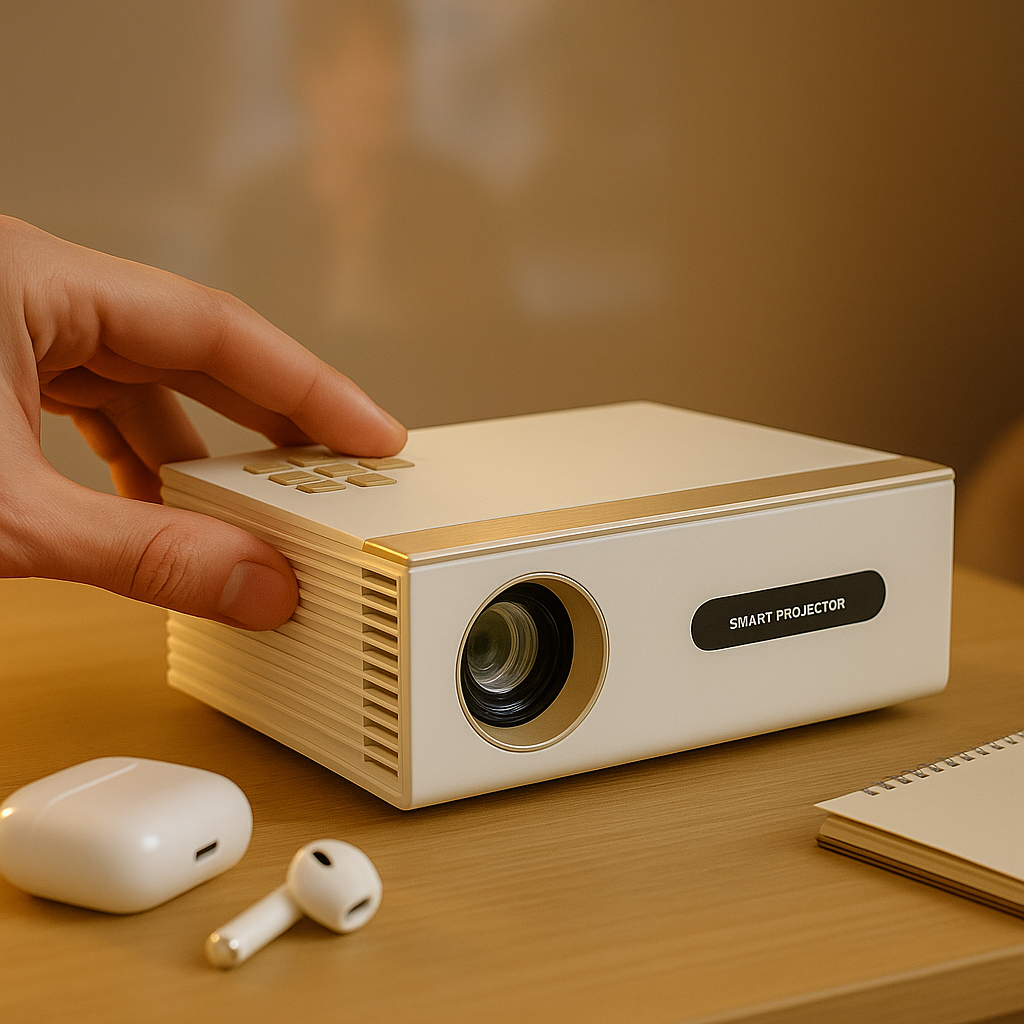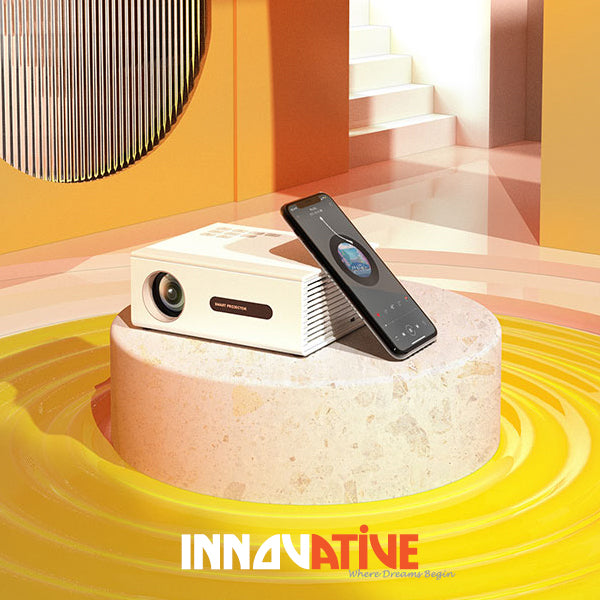

A projector can look surprisingly good at noon - but only when the room is treated as part of the system. A daytime projector setup with blinds is not about making a sun-filled room completely dark. It is about controlling the light that does the most damage, matching the projector and screen to the remaining light, and setting realistic expectations before you buy.
The common mistake is assuming a high number on a marketplace listing will overpower any window. It will not. Inflated lumen claims do not defeat direct sunlight, and a bright white wall does not replace a proper screen. Get the room strategy right first, and daytime viewing becomes practical for sports, streaming, presentations, and family movie time.
Start With the Windows, Not the Projector
Windows create two different problems: direct light and reflected light. Direct light is the obvious one. If sunlight lands on the screen, image contrast collapses immediately. Blacks turn gray, colors lose depth, and even a legitimately bright projector will look washed out.
Reflected light is more subtle. Sunlight that hits a pale floor, white ceiling, glossy table, or opposite wall can bounce back onto the screen. The projector may appear bright enough at first, yet dark scenes still look flat. This is why two rooms with the same projector and the same blinds can produce very different results.
Before choosing equipment, stand where the screen will go at the brightest time of day. Notice whether sunlight reaches that wall directly and whether windows sit behind the seating position, beside the screen, or opposite it. A window opposite the screen is usually the hardest layout because it sends light straight toward the viewing surface.
Choose blinds for light control, not decoration alone
Standard light-filtering blinds reduce glare but still allow a lot of ambient light through. They can be enough for casual daytime television in a room with no direct sun on the screen, especially with a bright projector and a modest image size. They are not the best answer for a dedicated daytime cinema setup.
For stronger control, blackout roller shades or blackout cellular blinds are the practical choice. Look for a close fit inside the window frame or side channels that limit the bright strips of light around the edges. Vertical gaps may sound minor, but a strong beam across the screen area can ruin the image.
Dual-layer shades are often the most useful option in a living space. Use the light-filtering layer when you want daylight and privacy, then lower the blackout layer for a movie, a game, or an important presentation. That flexibility matters more than turning a room into a permanent cave.
If direct sun enters from the side, combine blinds with curtains. Blinds control the window surface; curtains can cover edge gaps and reduce reflections from nearby walls. Keep the treatment focused on the windows that affect the screen. You do not need to overbuild the room if one afternoon-facing window is the real culprit.
Match Brightness to Screen Size and Room Light
Brightness matters, but it is not a magic number. The larger you make the image, the more the available light is spread across the screen. A projector that looks punchy at 80 inches may look noticeably less convincing at 120 inches in the same daytime room.
For a room with blackout blinds and controlled reflections, a quality projector with honest, tested brightness can deliver an excellent 90- to 120-inch picture. In a room where blinds reduce but do not eliminate daylight, keep the image closer to 80 to 100 inches if daytime clarity is the priority. That trade-off is often smarter than chasing a huge screen and accepting a faded image.
Be skeptical of cheap projectors advertised with spectacular lumen figures. Many use marketing terms that are not comparable to real ANSI lumens or other meaningful brightness measurements. A claimed number is not proof of usable daytime performance. Real-world testing, color accuracy, focus uniformity, and contrast under ambient light matter far more than a dramatic figure on a product image.
For office use, brightness is only half the story. A projector can be bright and still be frustrating if small text is soft at the edges or if the image loses detail in a lit meeting room. Teams presenting spreadsheets, dashboards, and training materials need tested text clarity, reliable focus, and enough light output for the room's actual window conditions.
The Screen Is Where Daytime Performance Is Won or Lost
A white wall is fine for occasional evening viewing. In daytime conditions, it is usually the weak point. Wall texture softens fine detail, and standard paint reflects room light in every direction. That makes the projected image compete with the room instead of standing apart from it.
A proper matte white screen improves image consistency in a room that can be substantially darkened with blinds. It provides a flat, neutral surface and helps the projector produce a cleaner image than it can on painted drywall. For many homes, this is the best balance of price, color accuracy, and flexibility.
If you plan to watch regularly with some ambient light remaining, an ambient light-rejecting screen can make a meaningful difference. These screens are designed to reflect more projector light toward viewers while rejecting light arriving from other angles. They are particularly effective when windows or ceiling lights are controlled but not fully eliminated.
There is a catch: ALR screens are directional. They work best when the projector is positioned exactly as the screen design expects. A ceiling-mounted long-throw projector, a tabletop unit, and an ultra-short-throw projector do not necessarily use the same screen. Pairing the wrong screen with the wrong projection angle can create hot spots, uneven brightness, or a disappointing image.
For near-wall and ultra-short-throw setups, use a screen made specifically for UST projection. These systems are ideal when a projector needs to sit inches from the wall, but their tight projection angle makes screen alignment less forgiving. A small leveling error can be more visible than it would be with a projector mounted across the room.
Position the Projector to Avoid Creating New Problems
A bright image does not help if people constantly walk through the light path or if the projector throws light across reflective surfaces. In a conventional setup, placing the projector behind the seating area or mounting it overhead keeps the room easier to use. It also reduces the chance that someone blocks the picture during a game or meeting.
Avoid relying heavily on keystone correction. It is convenient for quick setup, but aggressive digital correction reduces the active image area and can soften detail. Whenever possible, position the projector square to the screen and use lens shift or physical placement to align it. This is especially important for presentations, where text needs to stay crisp from corner to corner.
Also consider where the blinds' pull cords, furniture, and daily traffic will be. A setup that looks tidy in a product photo may be annoying in a real family room if you must move a coffee table every time you want a 100-inch screen. Portable, battery-capable projectors can be a better fit when the room serves several purposes, but portability should not mean accepting poor placement or an unstable screen.
Build a Daytime Routine That Takes Seconds
The best setup is one people will actually use. If starting a movie requires rearranging the room, untangling cables, adjusting the screen, and fighting the blinds, the projector will eventually stay in a closet.
Keep the routine simple: lower the blackout or dual-layer blinds, turn off overhead lighting nearest the screen, power on the projector, and select your streaming device or wireless source. A motorized screen and mounted projector can make this nearly effortless in a premium living room. In apartments and bedrooms, a portable screen and compact projector can offer the same big-screen freedom without a permanent installation.
Use side lamps behind the seating area rather than ceiling lights in front of it. This preserves enough light to move around safely while limiting glare on the screen. For children, controlled room lighting and a large projected image can also be more comfortable than sitting close to a small, overly bright display - provided the projector is properly positioned and the image is not pushed to an uncomfortable brightness level.
Test the Room Before You Commit
Do a real daylight test, preferably between late morning and midafternoon. Close the blinds as you would for normal use, turn on the lights you expect to keep on, and project onto the intended screen location. Test bright sports footage, a dark movie scene, subtitles, and small presentation text. Each exposes a different weakness.
If the picture lacks punch, fix direct sunlight first. Then reduce reflected light, consider a smaller screen size, and upgrade the screen before assuming you need the most expensive projector available. Equipment should solve a specific room problem, not compensate for a setup that was never designed for daylight.
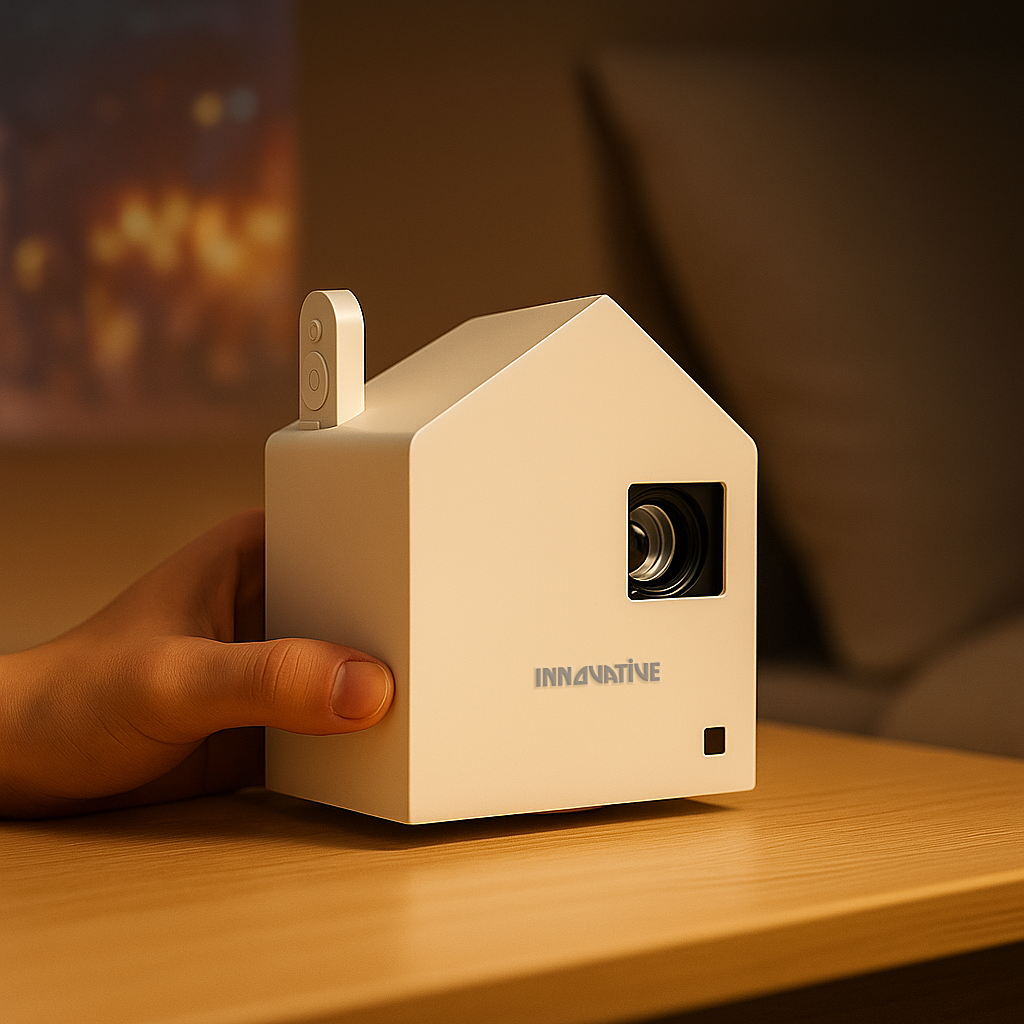
INNOVATIVE Projectors approaches bright-room recommendations this way because real rooms are not test labs. The right combination of blinds, projector placement, honest brightness, and screen choice gives you a picture that works when life is happening around it - not only after sunset.